
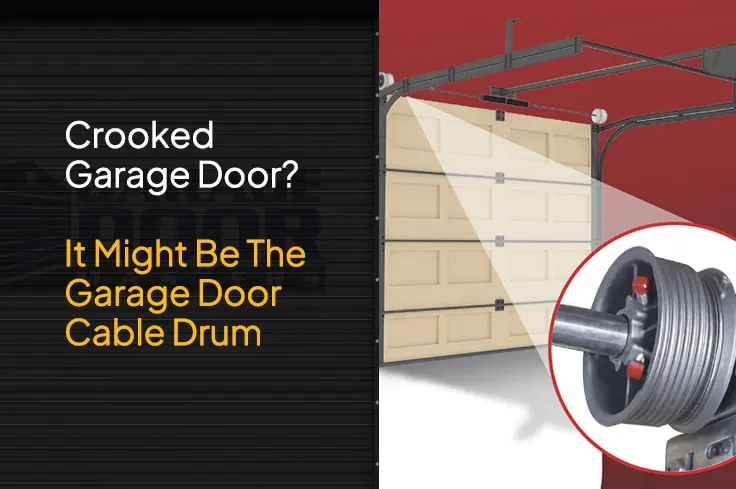
Crooked Garage Door? It Might Be The Garage Door Cable Drum
My name is Alec, and I’ve spent eight years fixing these systems across San Antonio. One thing I see constantly? Homeowners staring at a crooked panel, blaming the track or opener. Nine times out of ten, the real culprit is hiding in plain sight. It’s the garage door cable drum. These small metal wheels do heavy lifting every single day. When they fail, everything goes sideways, literally. I’ve worked with over 500 clients in this area. Let me walk you through what’s really happening up there.
What Is a Garage Door Cable Drum?
Think of the garage door cable drum as a spool. It sits at the top of your system, on each side. As the torsion spring turns, it rotates these drums. The cables wrap around them, lifting or lowering your panels evenly. Without properly functioning drums, your system can’t balance itself.
I explain it to clients like this: imagine pulling a window shade with only one hand. It tilts, right? Same principle here. If one drum slips or wears down, the cable on that side loses tension. That’s when you see that frustrating crooked look. Most people don’t realize how critical this small component actually is. It’s the unsung hero of smooth operation.
Signs Your Garage Door Cable Drum Needs Attention
After thousands of service calls, I’ve learned to spot trouble fast. The most obvious sign is uneven movement. One side lifts before the other. You might also hear grinding or clicking near the top corners. That usually means the cable isn’t seating correctly on the drum.
Another red flag? Visible slack in your cables. A properly tensioned system keeps cables tight at all times. If you see drooping or loose lines, something’s off. I had a client last month who ignored this for weeks. Eventually, the cable jumped off completely. What could have been a simple garage door cable drum replacement turned into a much bigger job.
Signs Your Garage Door Cable Drum Needs Attention
Not every remote control works with every system. That’s the tricky part. Before you buy, check what type of opener you have. Look at the motor unit mounted on your ceiling. There should be a label with the brand and model number.
Older systems from the 1990s might use fixed codes. Newer ones use rolling codes for better security. Your universal garage door opener needs to match this technology. Most product listings tell you exactly what systems they support. When in doubt, call the manufacturer directly. They can confirm compatibility in seconds.
Cable Damage I Often Find in San Antonio Homes
San Antonio weather plays a role here. Our humidity causes corrosion over time. I regularly find frayed cables wrapped around pitted drums. The rust creates rough spots that chew through the steel strands.
Another common issue is improper installation from previous work. I’ve pulled drums that were the wrong size entirely. Using a 400-8 drum on a system designed for 400-12 throws off the entire lift ratio. This mismatch causes premature wear on cables, springs, and the opener itself. Always check that your components match manufacturer specifications.
Understanding Cable Drum Sizes: 400-8 vs 400-12
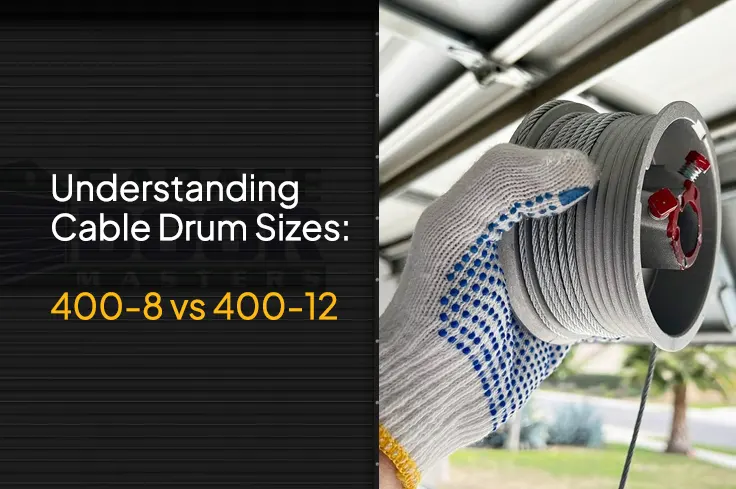
Not all drums are created equal. The numbers refer to the diameter and cable groove depth. A 400-8 garage door cable drum is standard for most residential setups. It works with lighter panels, typically under 150 pounds. The 400-12 handles heavier loads and commercial applications.
Here’s a quick breakdown:
- 400-8: Fits most standard residential systems up to 8 feet tall
- 400-12: Designed for taller or heavier panels, often 10+ feet
- Cable groove: Deeper grooves on 400-12 accommodate thicker cables
- Brand compatibility: Most major brands use universal sizing
Choosing the wrong size creates dangerous imbalances. I always measure and verify before ordering replacement parts.
Vertical Lift vs Standard Lift Systems
Your lift type also determines which drum you need. Standard lift systems angle the track toward the ceiling. Vertical lift systems run straight up, common in commercial buildings with high ceilings.
Vertical lift setups require specific drums rated for that configuration. The cable wrap pattern differs significantly. Using a residential drum on a vertical lift system is a safety hazard I’ve unfortunately seen before. Commercial properties in San Antonio should always verify their garage door cable drum matches the lift specification.
Residential and Commercial Cable Drum Differences
Residential drums handle daily cycles from typical family use. Commercial drums are built for high-frequency operation. Think warehouses, fire stations, or busy retail loading bays.
The main differences come down to material thickness and bearing quality. Commercial-grade drums often feature sealed bearings that resist dust and debris. They’re designed for 50,000+ cycles without failure. Residential versions typically handle 10,000-15,000 cycles. If you’re running a business, investing in the right brand and grade saves money long-term.
Texas Regulations for Cable Drum Safety
In Texas, proper installation isn’t just smart, it’s required. Safety standards protect both technicians and homeowners from serious injury.
- Texas Property Code Section 92.154 – Requires functional safety devices on all residential systems
- ANSI/DASMA 102 – Sets industry standards for component testing and installation
- UL 325 – Mandates entrapment protection and reversal mechanisms
Non-compliance can void your warranty and create liability issues. I always ensure every garage door cable drum installation meets these codes. Local inspectors in San Antonio take these requirements seriously.
Garage Door Cable Drum Replacement Price Guide
Clients always ask about price, and I get it. Budget matters. For a standard residential garage door cable drum replacement, expect to pay between $150-$300 for parts and labor. The drum itself typically runs $30-$75 per pair, depending on brand.
Several factors affect your final cost. Drum size matters. A 400-12 costs more than a 400-8. If your cables need replacement too, add another $75-$150. Commercial systems run higher due to specialized components. I always provide written estimates before starting any work. Transparency builds trust.
Trust a Pro for Your Garage Door Cable Drum Repair
I’ve seen well-meaning homeowners attempt DIY repairs on these systems. It rarely ends well. Torsion springs store incredible force. One slip can cause serious injury or major damage. A garage door cable drum sits right next to that spring assembly.
Professional service takes about 60-90 minutes for most replacements. We test balance, calibrate tension, and verify smooth operation before leaving. Your family’s safety is worth that investment. If you’re in San Antonio and noticing any warning signs, don’t wait until the problem gets worse. Early service saves money and prevents bigger headaches down the road
Our Experts Are Here To Help
Get a Free Quote
How do I know if my cable drum is bad?
Look for uneven lifting where one side rises before the other. Listen for grinding sounds near the top corners during operation. Check your cables for visible slack or fraying. If the panel sits crooked when closed, that’s a strong indicator. I recommend a professional inspection if you notice any of these signs. Catching problems early prevents costly secondary damage to other components.
Can I replace a cable drum myself?
Technically yes, but I strongly advise against it. The torsion spring assembly holds extreme tension. Without proper tools and training, you risk serious injury. Even releasing the tension incorrectly can send components flying. Professional technicians carry insurance and have specialized equipment. The savings from DIY aren’t worth the hospital visit.
How long do cable drums typically last?
Quality drums last 10,000-15,000 cycles in residential applications. That translates to roughly 7-12 years for average households. Commercial drums rated for higher cycles can last much longer. Factors like humidity, maintenance, and usage frequency all play roles. San Antonio’s climate does accelerate corrosion, so inspect yours annually.
What causes cable drums to fail?
Corrosion tops the list, especially in humid climates. Improper installation creates stress points that wear prematurely. Using the wrong size drum for your system causes uneven tension. Normal wear over thousands of cycles eventually takes its toll. Lack of lubrication speeds up degradation on the bearings and contact surfaces.
Should I replace both drums at the same time?
Yes, I always recommend replacing them in pairs. If one failed, the other is likely close behind. Mismatched wear between old and new drums creates balance issues. Pairs are sold together for this reason. The labor cost stays the same whether replacing one or both, so it makes financial sense too.
What's the difference between cable drums and cable pulleys?
Cable drums mount at the torsion spring shaft and wind the cable as the spring turns. Cable pulleys redirect cable direction on extension spring systems, typically found at the rear corners. They serve different functions on different system types. Most modern residential setups use torsion springs with drums rather than extension springs with pulleys.